

Turning a van into a fully-equipped camper is an exciting project. One of the most crucial aspects of this transformation is the electrical system. A well-designed electrical setup ensures that you have reliable power for lights, appliances, and charging devices while on the road. This guide will walk you through building a DIY campervan electrical system, complete with a 200Ah battery and all the necessary components. We’ll also suggest top brands to help you make the best choices for your build.

DIY Campervan Electrical System Components List and Suggested Brands
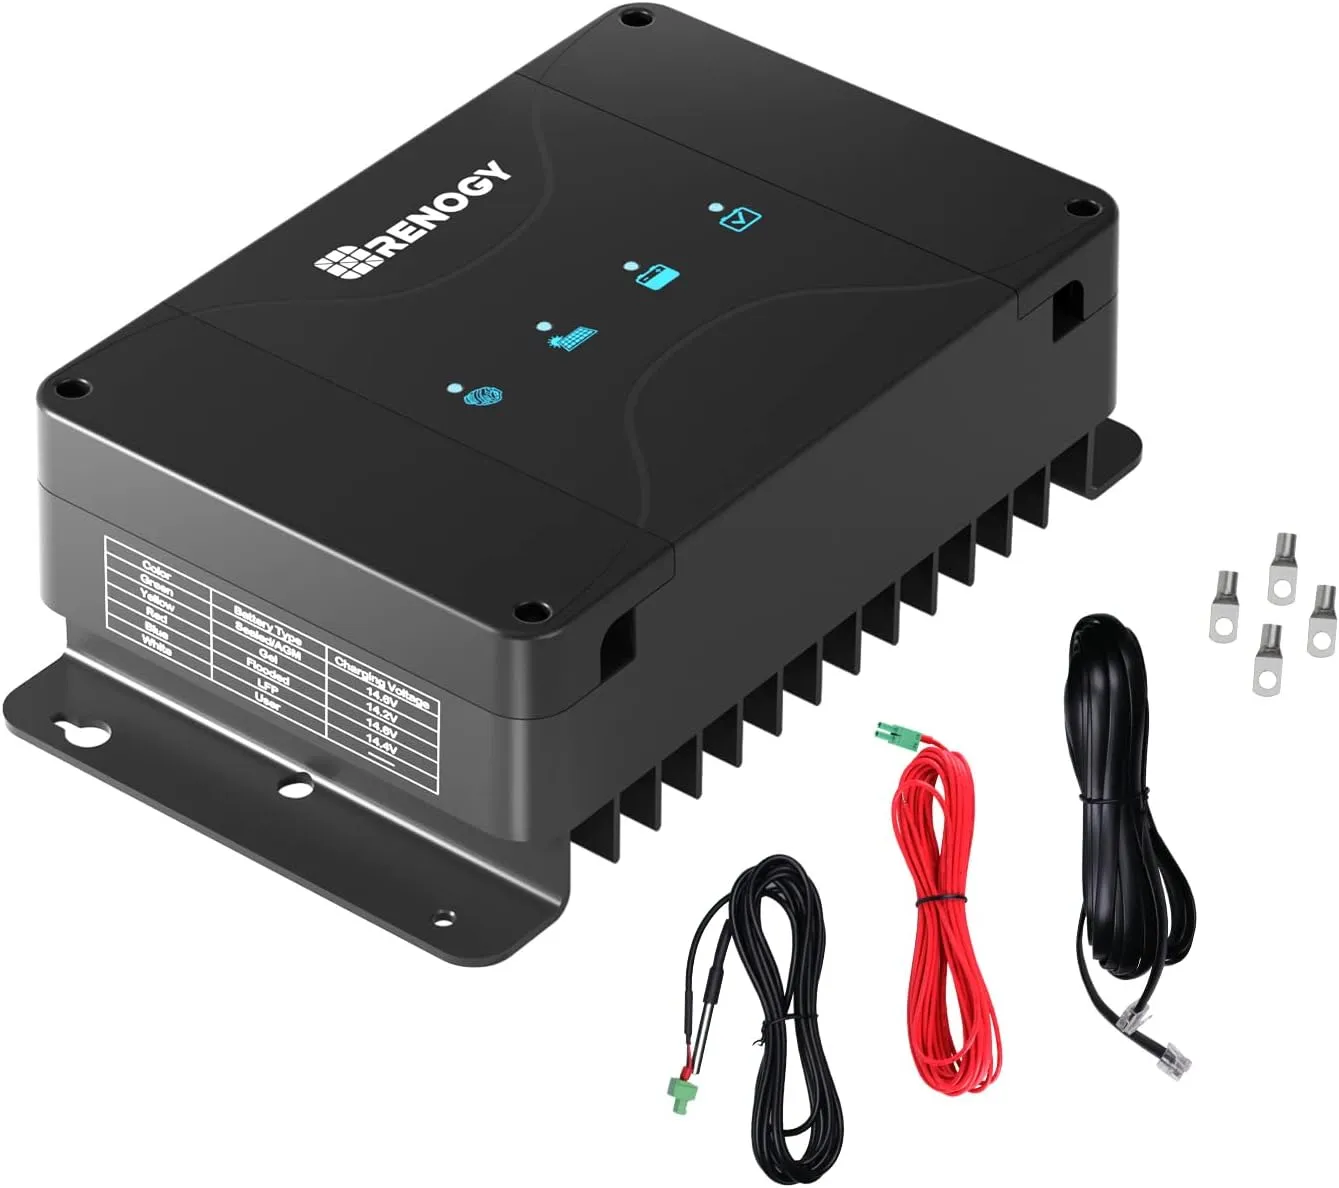
200Ah Battery
- Brand Recommendation: Battle Born, Renogy, (you can go with your budget)
- Type: Lithium Iron Phosphate (LiFePO4) for longevity and reliability.

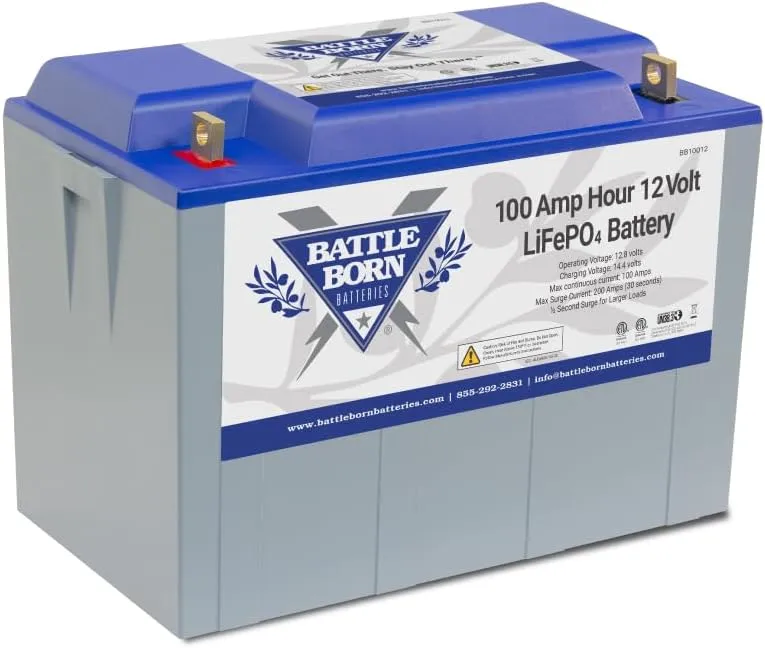
$925.00

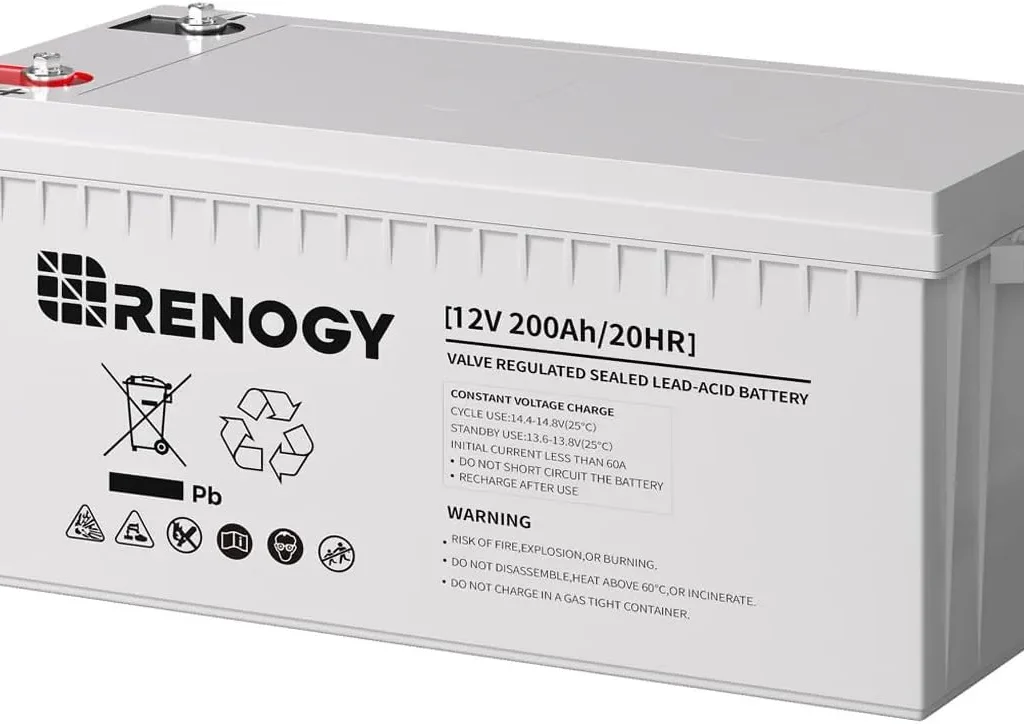
Renogy Deep Cycle AGM Battery 12 Volt 200Ah, 3% Self-Discharge Rate, 2000A Max Discharge Current, Safe Charge Most Home Appliances for RV, Camping, Cabin, Marine and Off-Grid System, Maintenance-Free
$379.99
Battery Monitor
- Brand Recommendation: Victron
- Features: Bluetooth connectivity for real-time monitoring via smartphone.

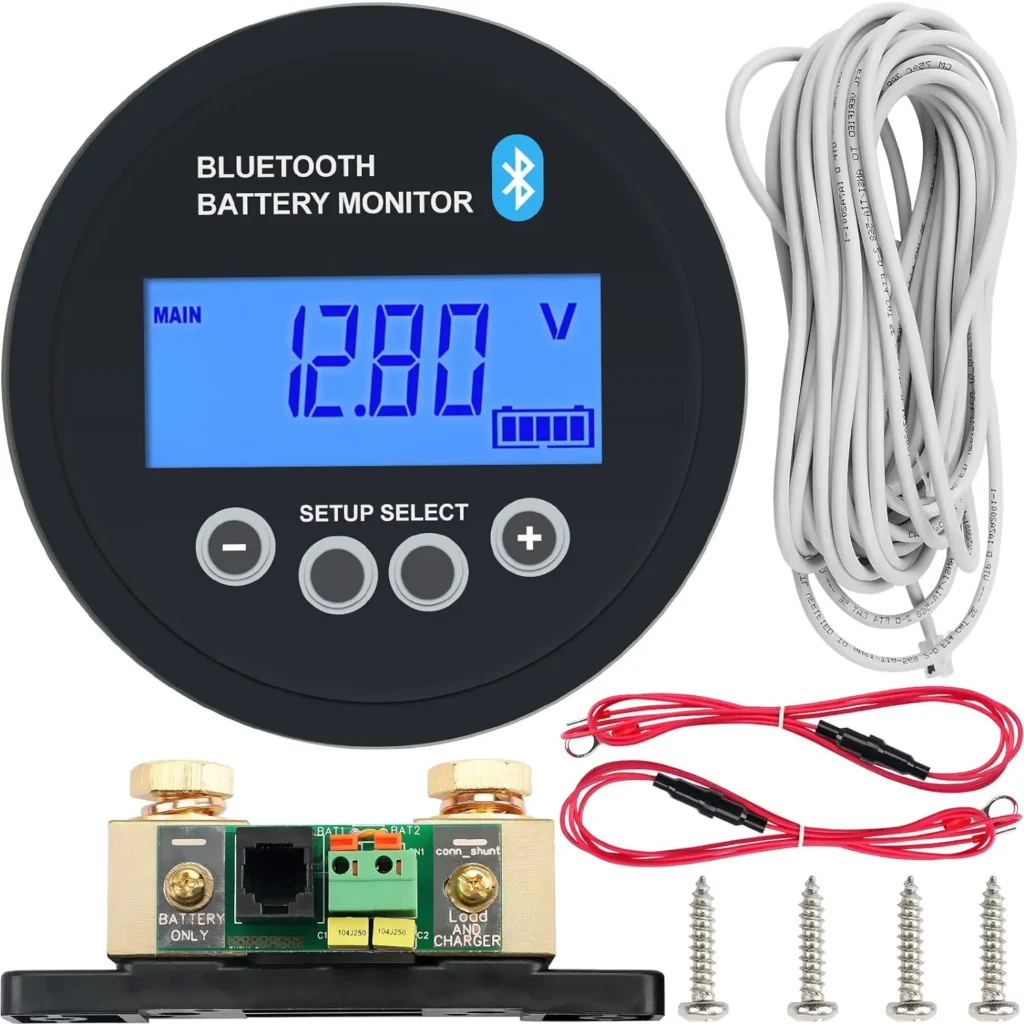
Victron BMV-712 Smart Battery Monitor, Input Voltage: 4.5-100VDC (Expandable), Built-in Bluetooth Communication
$159.99
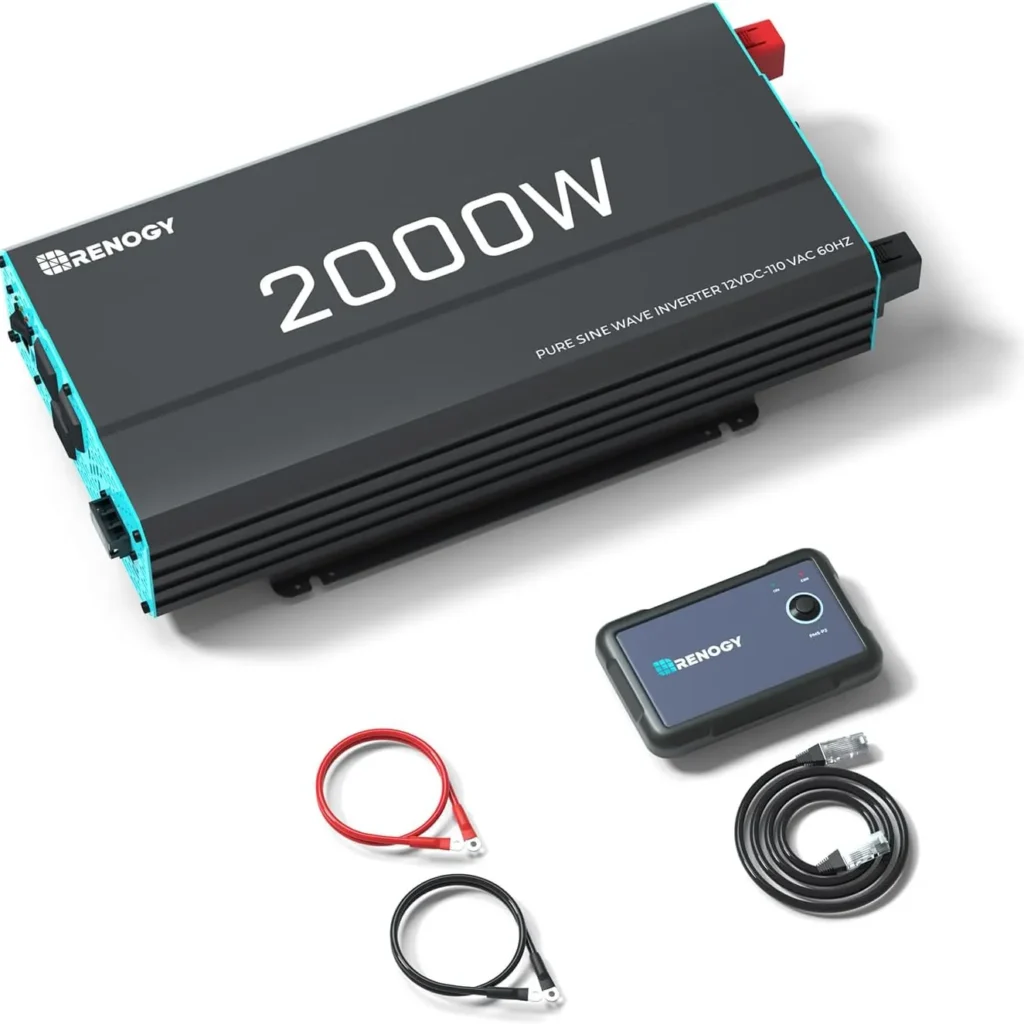
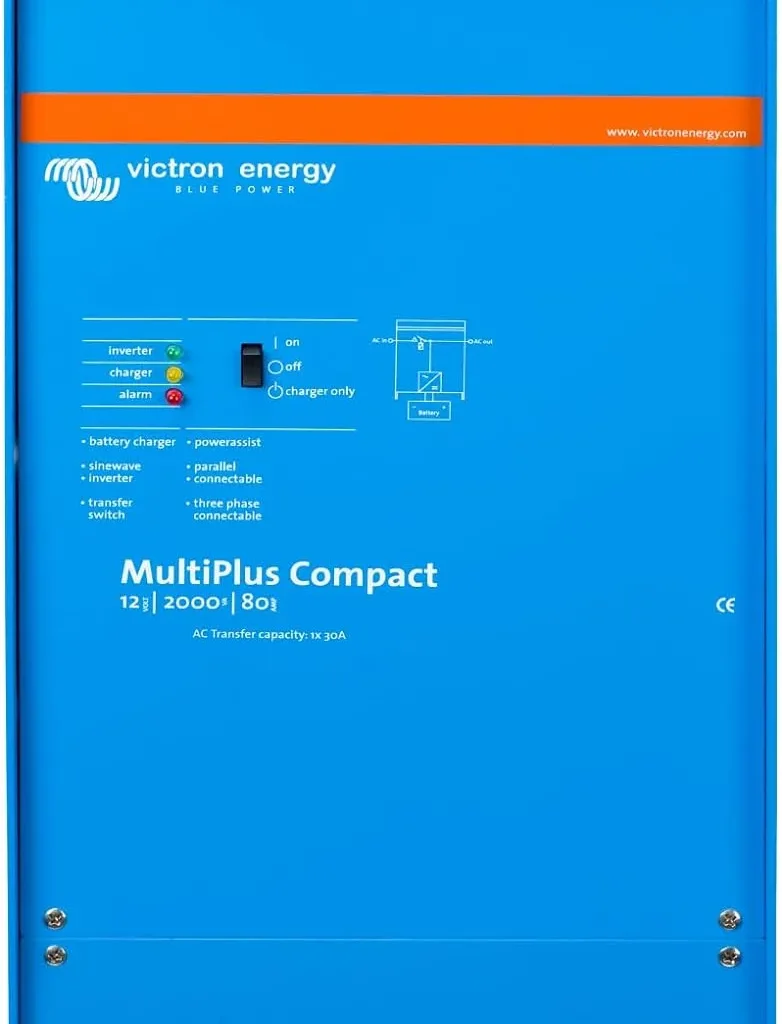
Inverter/Charger
- Brand Recommendation: Victron MultiPlus, Renogy (both are good you can go with your space and budget )
- Specifications: 2000W pure sine wave inverter with a built-in charger.

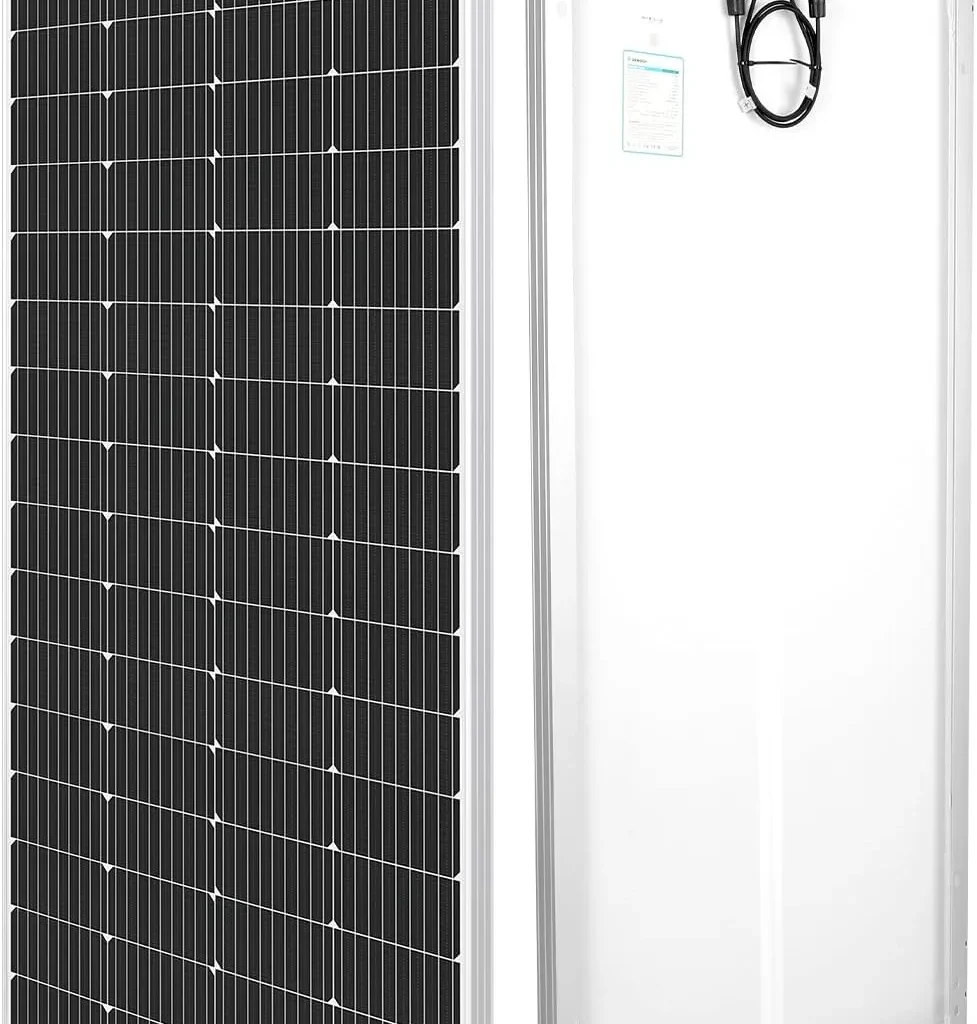
Solar Panels
- Brand Recommendation: Renogy, Zamp Solar
- Specifications: 200W-400W total capacity, depending on your power needs and roof space.

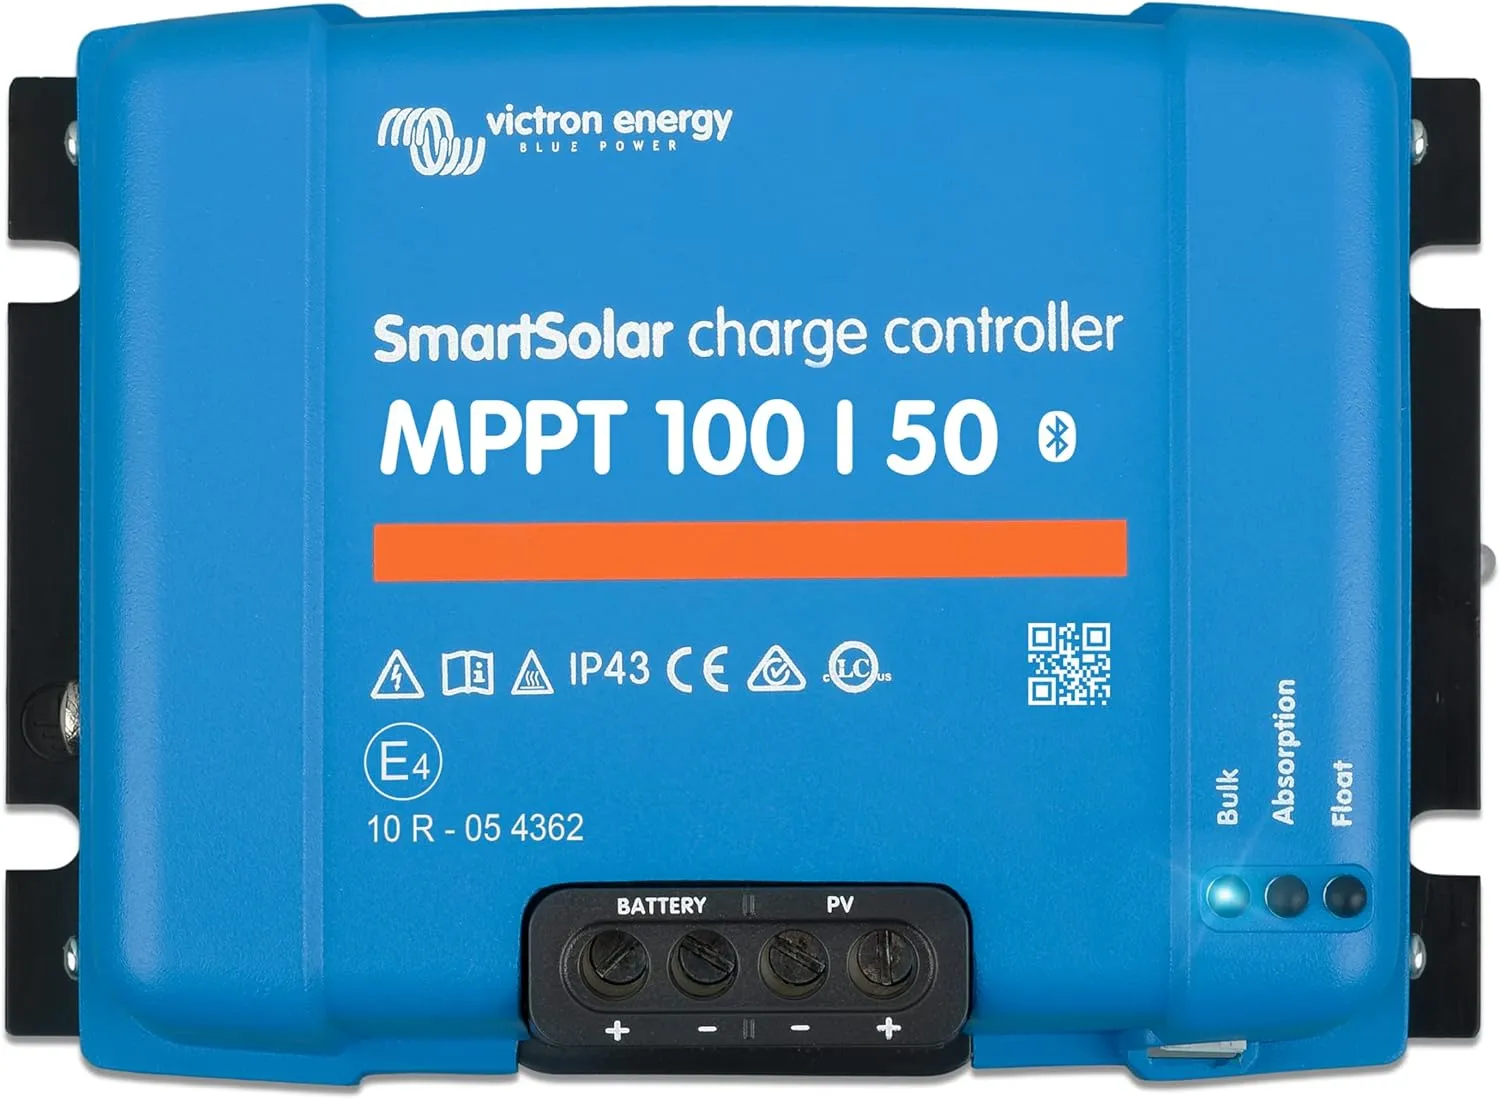
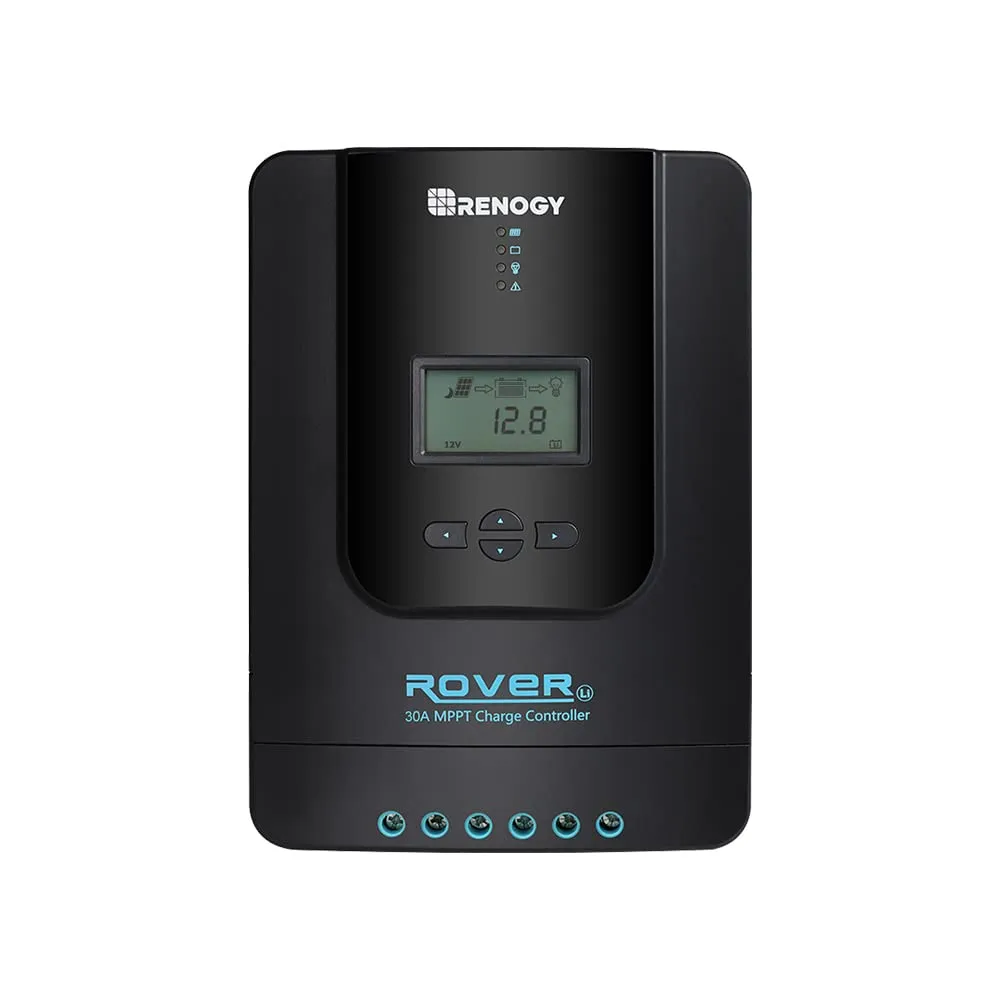
Solar Charge Controller
- Brand Recommendation: Victron SmartSolar MPPT, Renogy Rover MPPT
- Specifications: MPPT (Maximum Power Point Tracking) for efficient solar energy conversion.


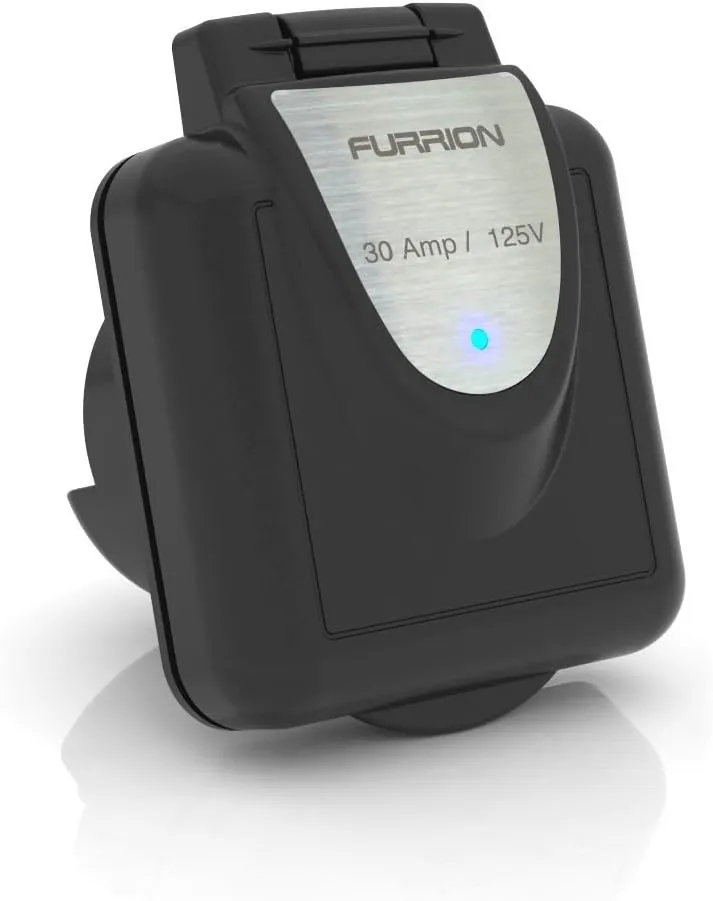
Shore Power Inlet
- Brand Recommendation: Furrion,
- Specifications: 30A shore power inlet for charging your battery via an external power source.

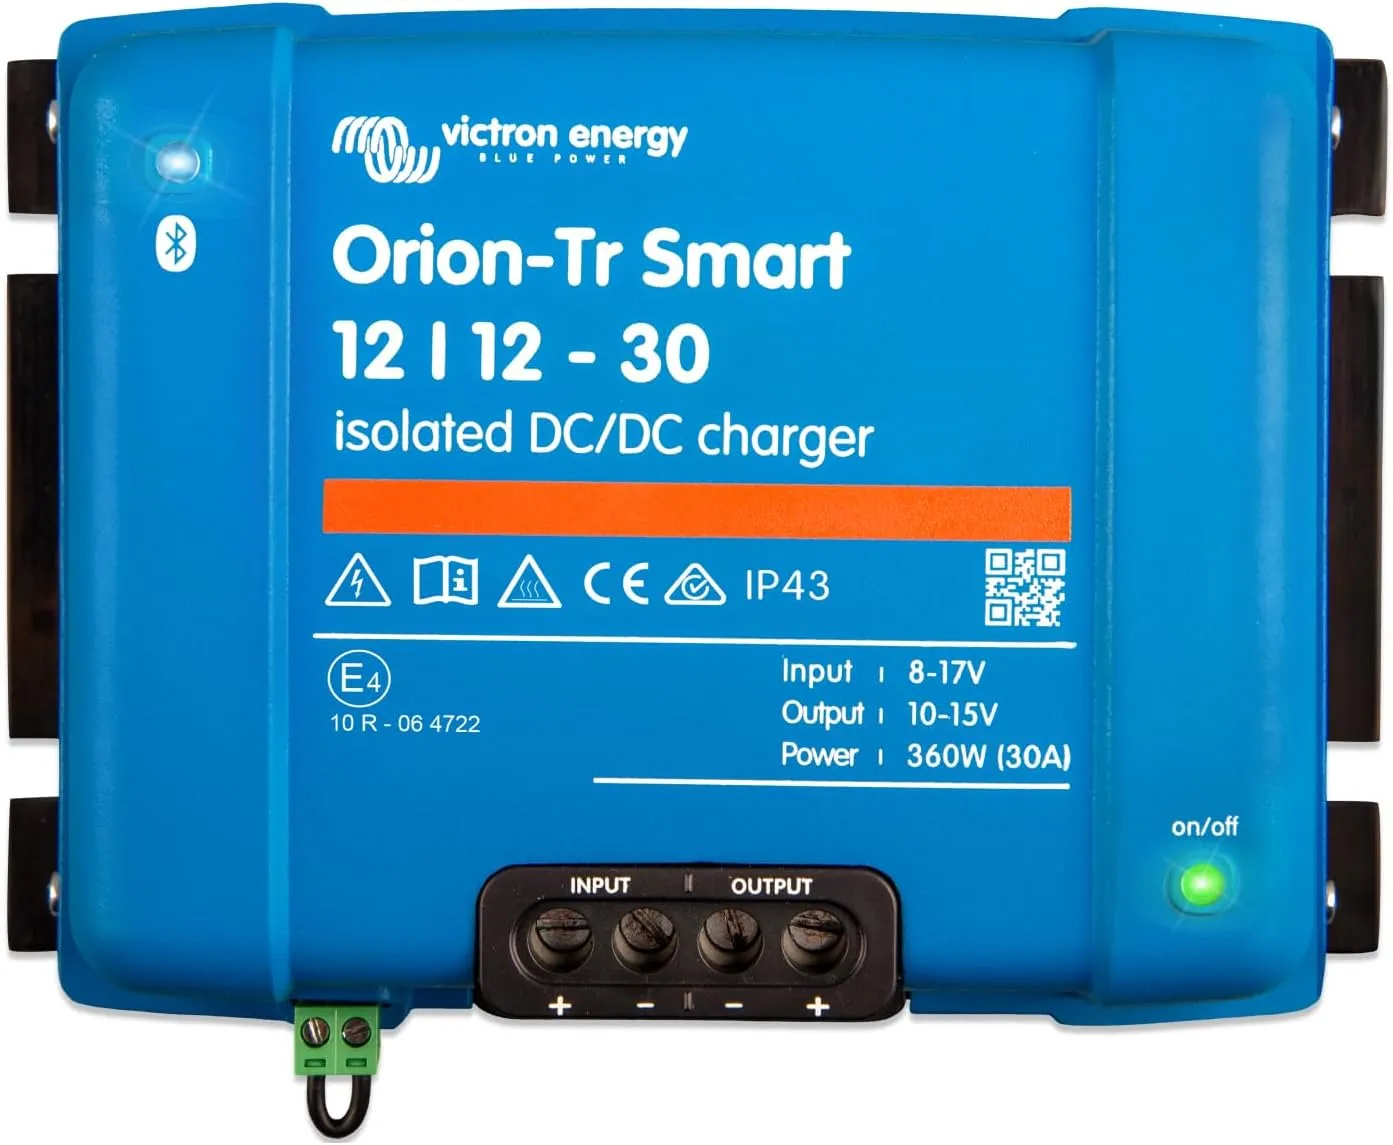
DC-DC Charger
- Brand Recommendation: Victron Orion-Tr Smart, Renogy DCC50S
- Purpose: Charges your house battery from the van’s alternator while driving.


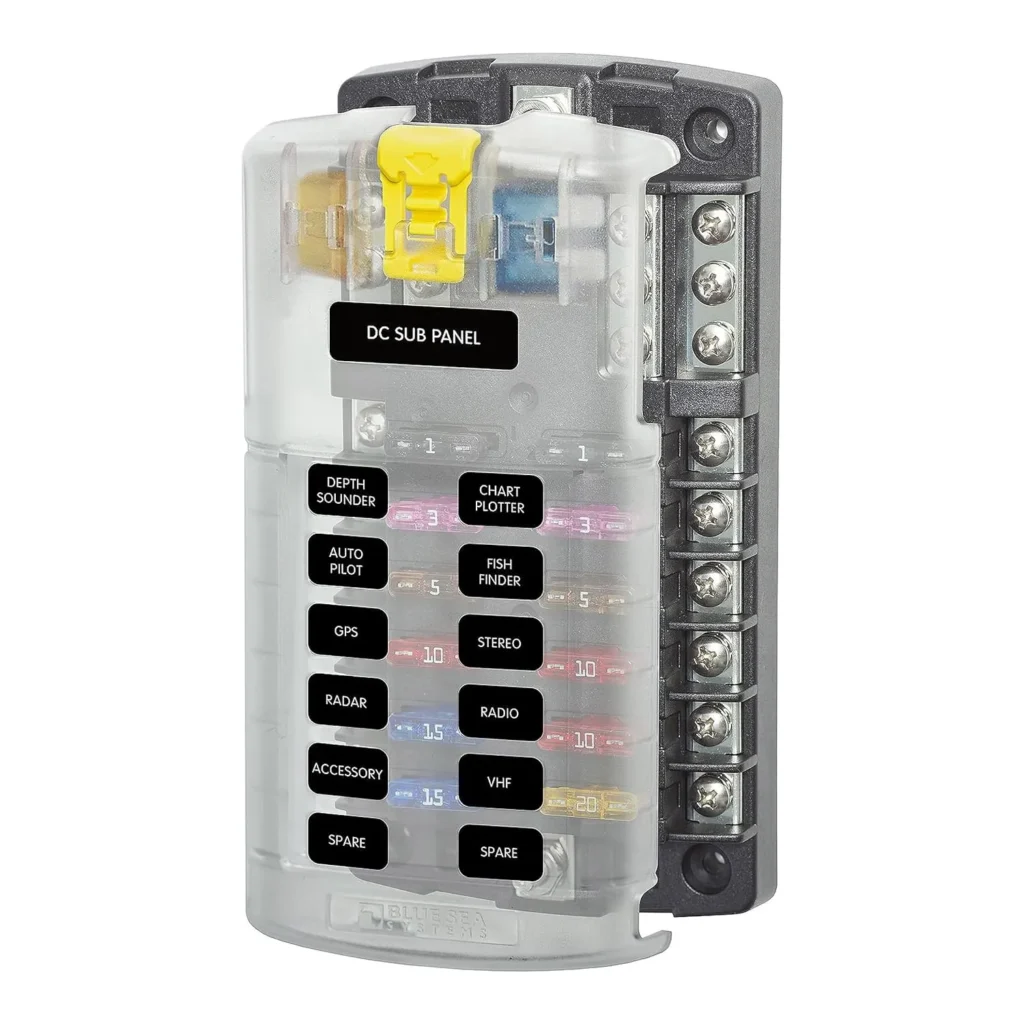
Fuse Box
- Brand Recommendation: Blue Sea Systems
- Specifications: 12-circuit fuse box with cover for easy access and organization.
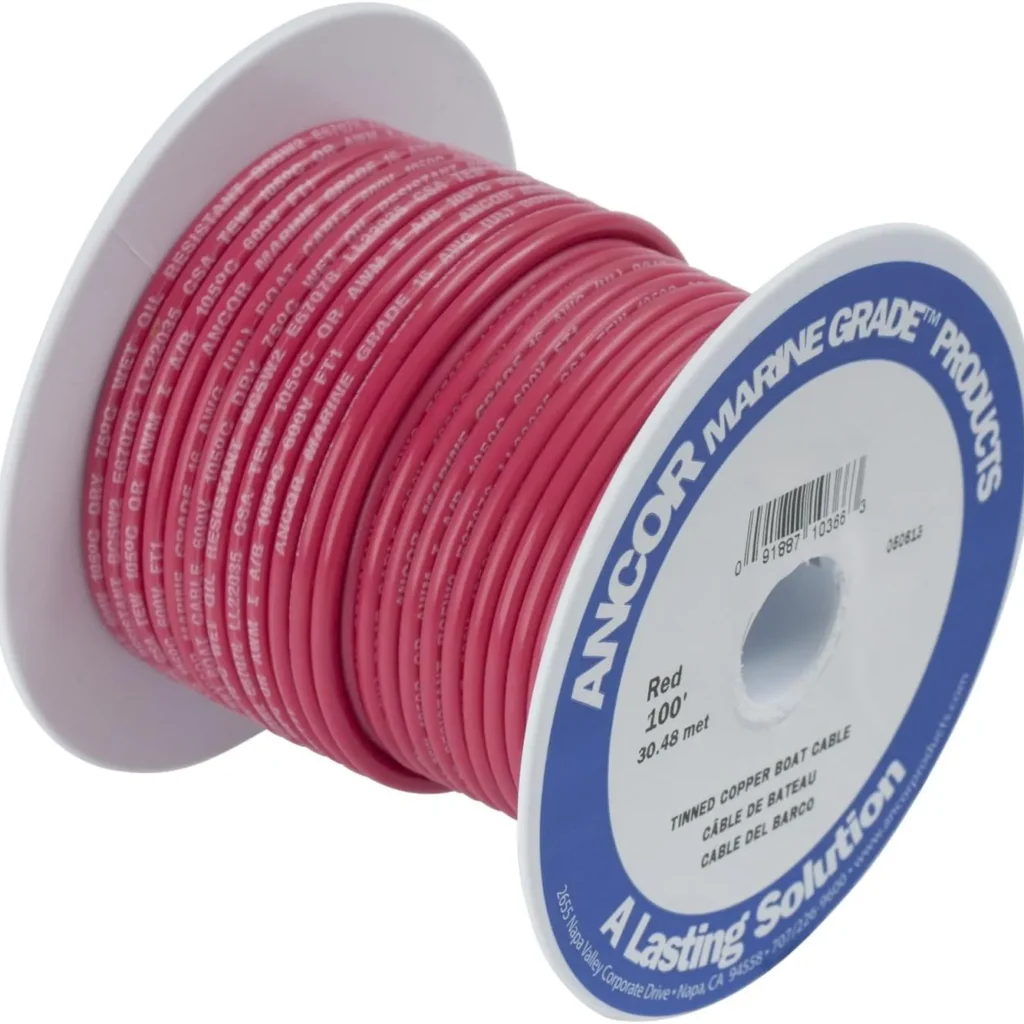
Cables and Wires
- Brand Recommendation: Ancor Marine Grade
- Specifications: Various gauges, typically 4 AWG for battery connections and 12-14 AWG for smaller loads. for havy use

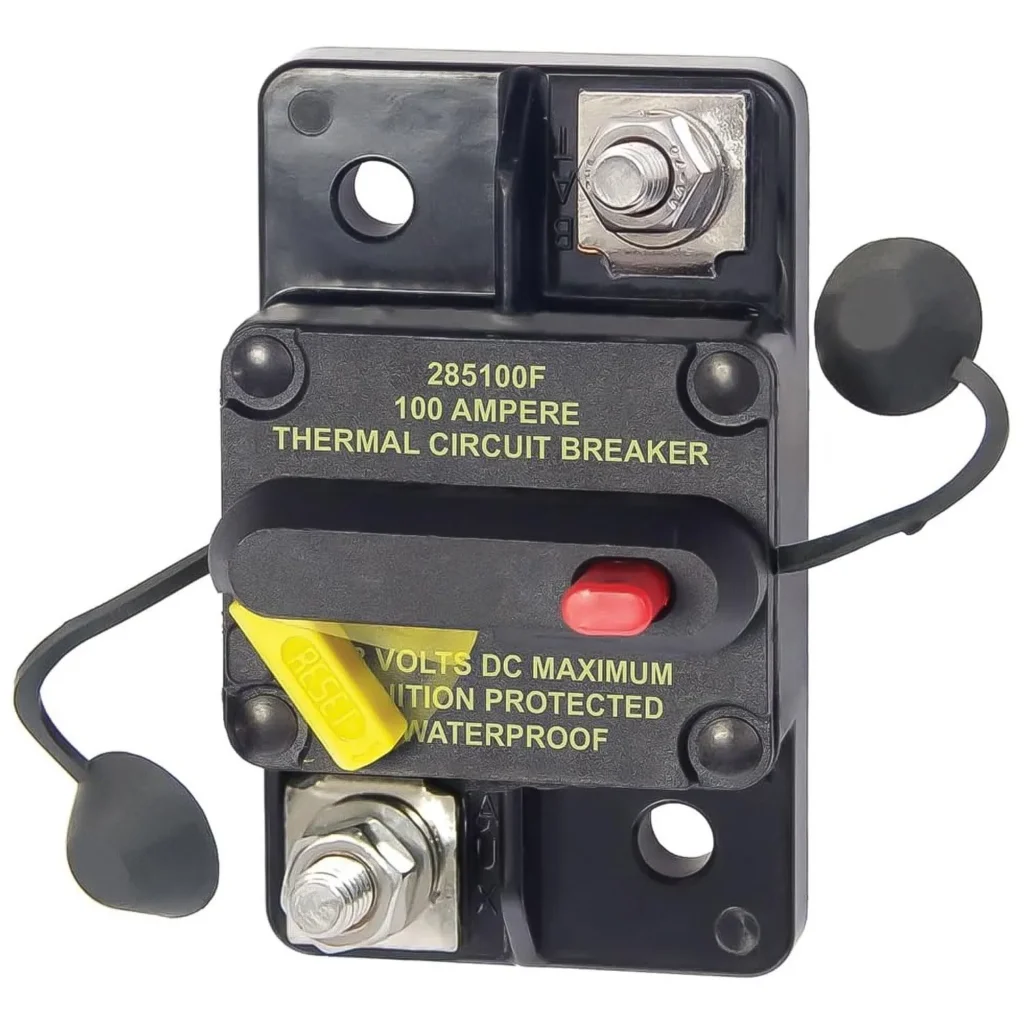
Circuit Breakers and Fuses
- Brand Recommendation: Blue Sea Systems
- Specifications: Various amperage ratings based on your system’s requirements.
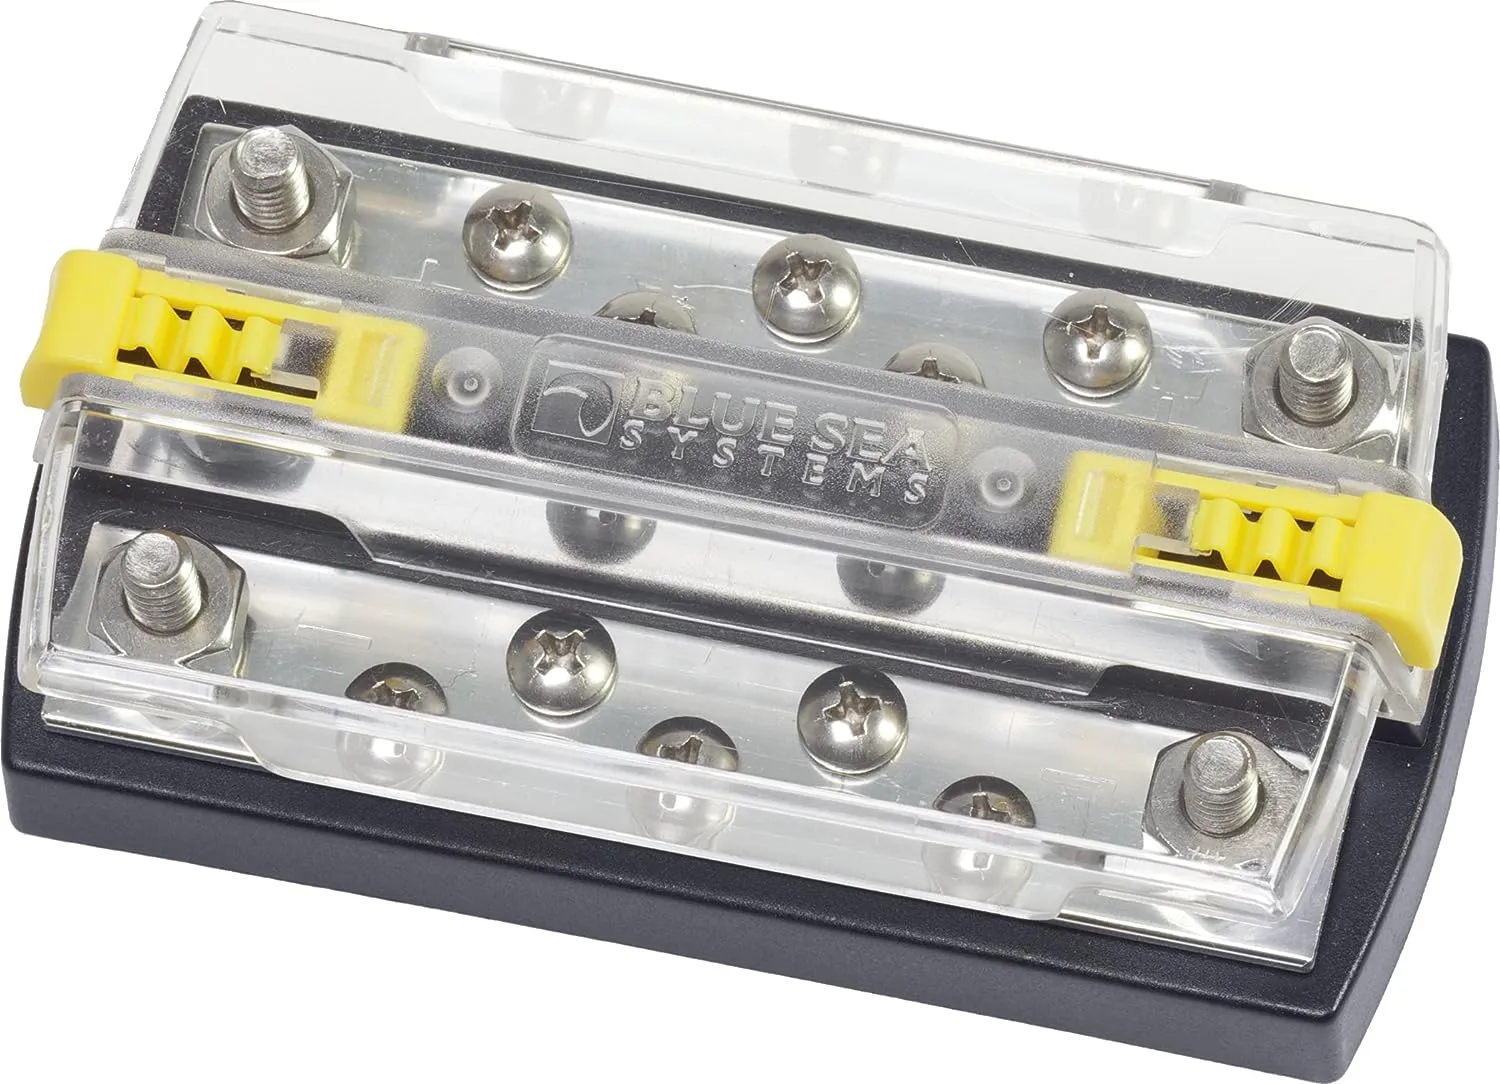
Busbars
- Brand Recommendation: Blue Sea Systems, Mofeez
- Purpose: To neatly organize and distribute power.


Battery Isolator
- Brand Recommendation: Blue Sea Systems
- Purpose: To separate the starter battery from the house battery, preventing drain.


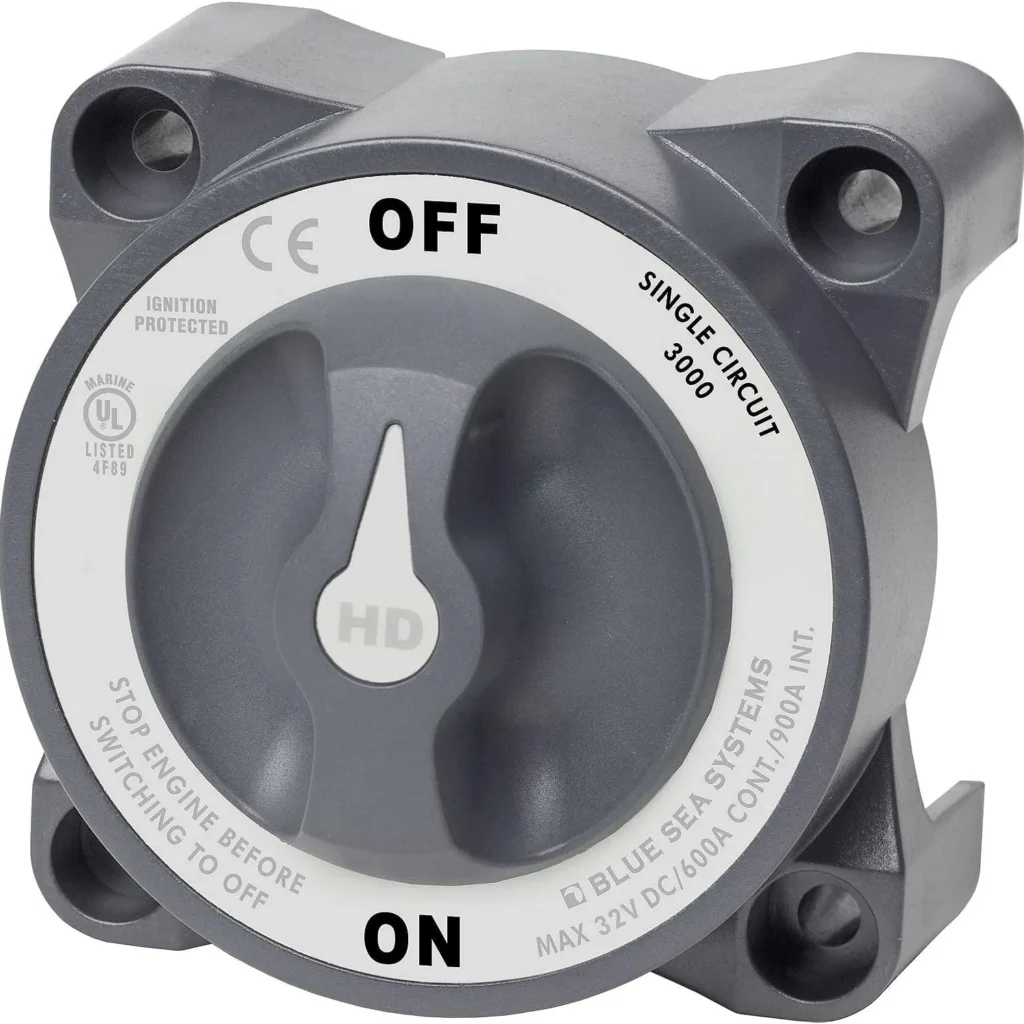
Battery Disconnect Switch
- Brand Recommendation: Blue Sea Systems
- Purpose: To safely disconnect the battery when working on the system.
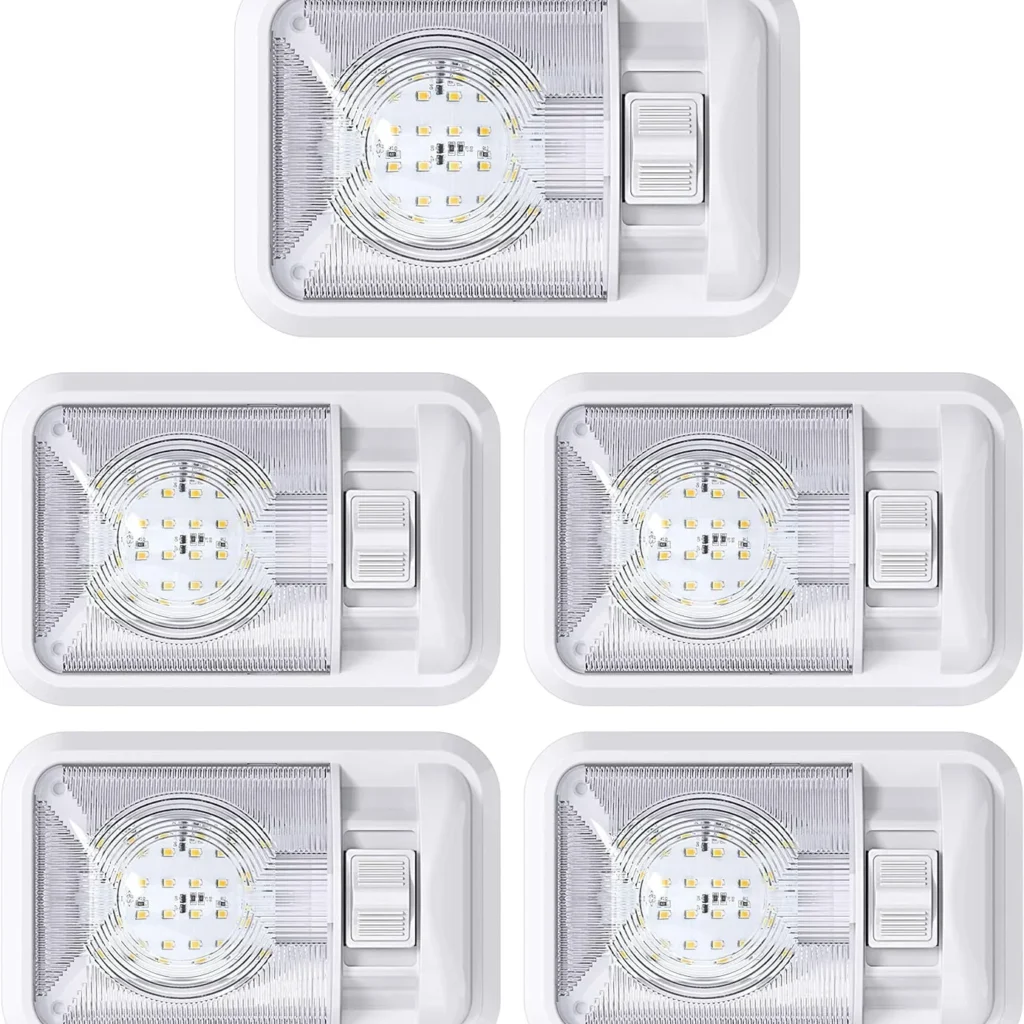
LED Lights
- Brand Recommendation: Leisure Super Bright LEDs
- Specifications: 12V LED lights for efficient and low-power lighting.
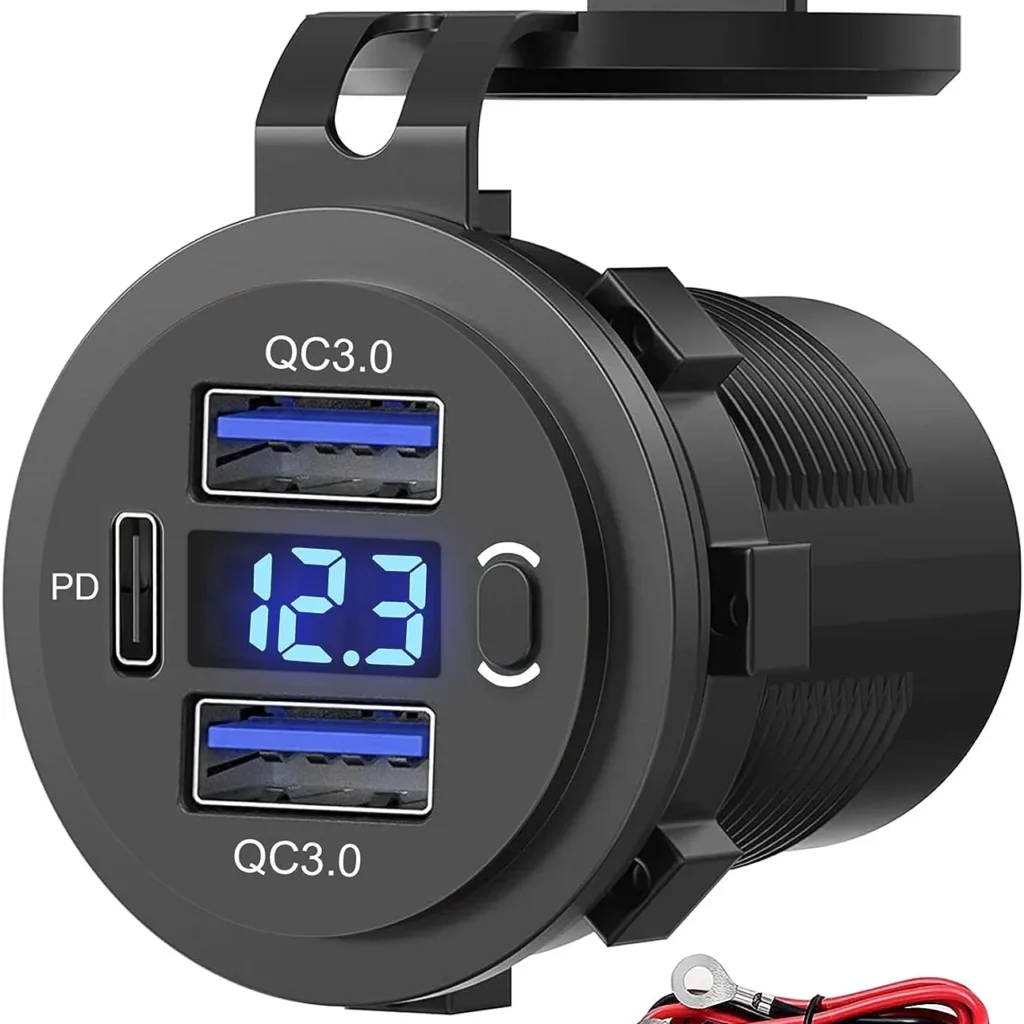
USB Charging Ports and 12V Sockets
- Brand Recommendation:
- Specifications: Multiple ports for charging devices.
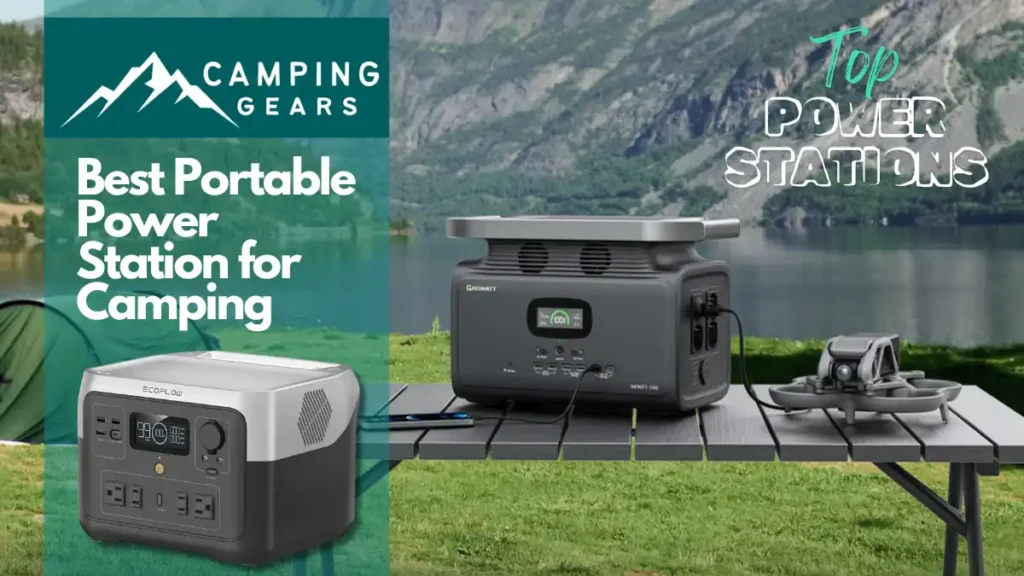
Backup Power Station
- Brand Recommendation: EF ECOFLOW
- Purpose: Provides additional backup power for emergencies or extended off-grid stays
- Features: 1260Wh capacity, fast recharge, multiple output ports (AC, DC, USB)

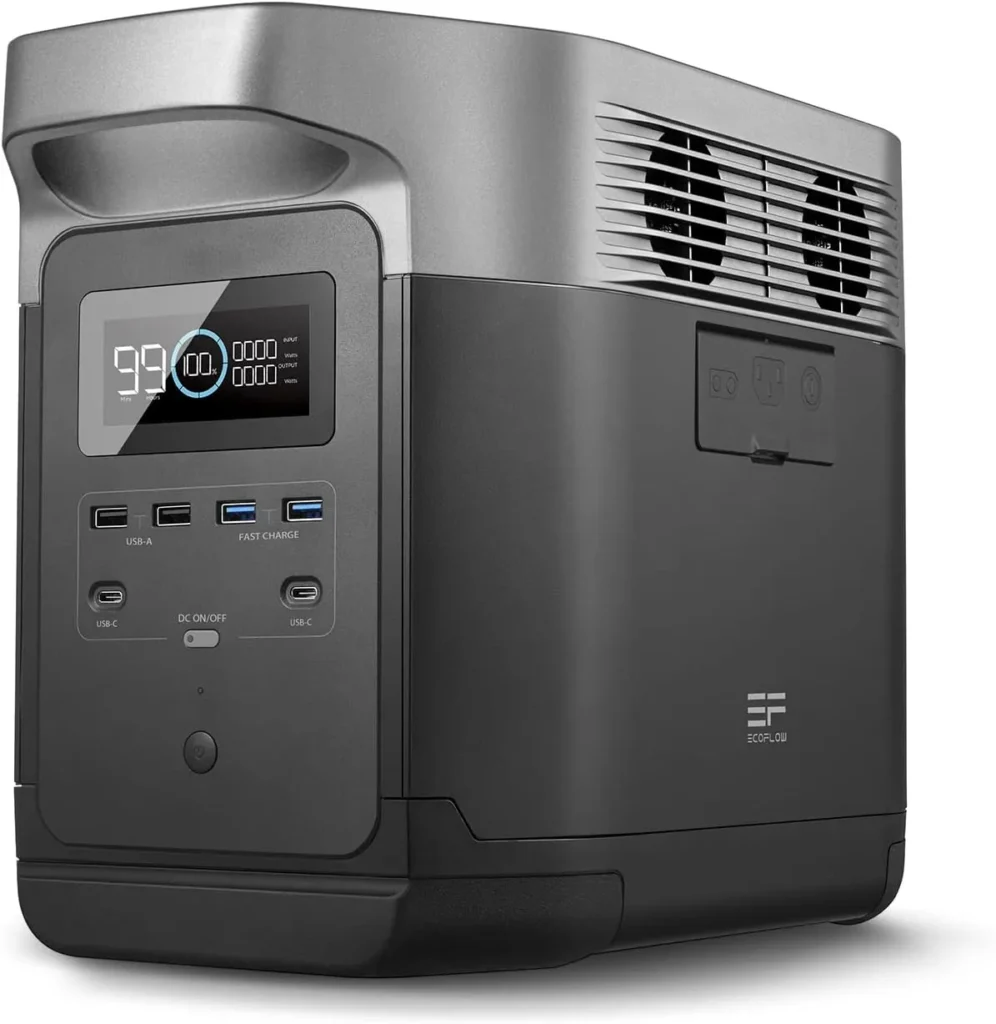
EF ECOFLOW Portable Power Station DELTA 1300, 1260Wh Solar Powered Generator with 6 x 1800W AC Outlets, Solar Generator(Solar Panel Optional) for Outdoor Camping
Read Also: Top 10 Best Portable Solar Power Stations
Step-by-Step DIY Camper Installation Guide
1. Planning and Layout
- Sketch Your Layout: Determine where each component will be installed.
- Calculate Power Needs: Estimate your daily power consumption to ensure the 200Ah battery meets your needs.
2. Mounting Components
- Secure Battery: Install the battery in a ventilated and secure location.
- Install Inverter/Charger: Mount the inverter close to the battery to minimize voltage drop.
- Solar Panels: Mount the panels on the roof using appropriate brackets and sealants.
3. Wiring
- Battery Connections: Use 4 AWG cables to connect the battery to the inverter, charge controller, and DC-DC charger. Ensure connections are tight and secure.
- Fuse Box: Connect all 12V loads (lights, USB ports) to the fuse box. Use appropriate wire gauges for each circuit.
- Solar Wiring: Connect the solar panels to the charge controller with appropriate solar cables, then connect the controller to the battery.
4. Installing Safety Components
- Fuse and Breakers: Install fuses and breakers close to the battery on the positive line.
- Battery Disconnect: Install a disconnect switch to safely shut off power when needed.
5. System Integration
- DC-DC Charger: Connect the DC-DC charger between the vehicle’s starter battery and the house battery.
- Shore Power: Install the shore power inlet and connect it to the inverter/charger.
6. Testing
- Check Connections: Ensure all connections are secure and correctly wired.
- Test Each Component: Power up the system and test each component, from lights to the inverter, to ensure everything is working correctly.
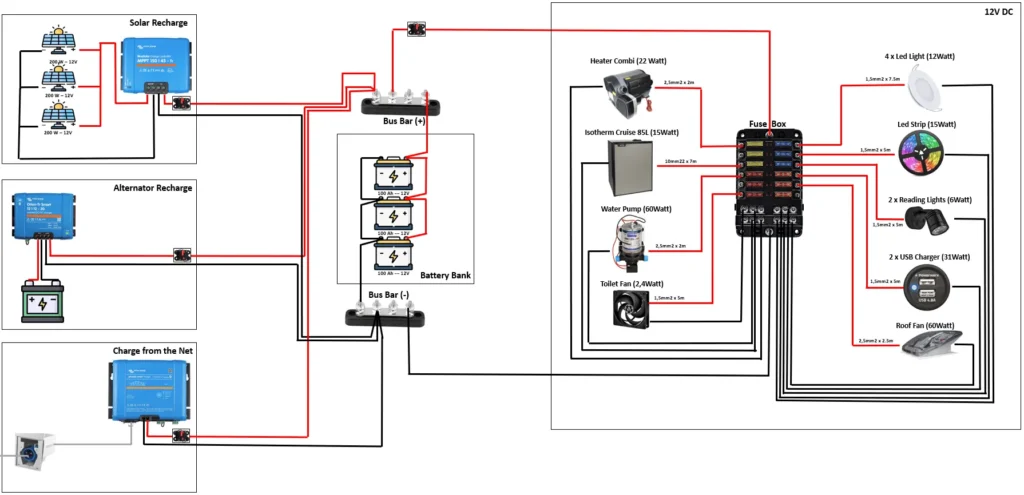
DIY Campervan Wiring Diagram

Conclusion
Building a reliable electrical system for your camper van is essential for a comfortable and enjoyable adventure. With a 200Ah battery and the components listed above, you’ll have a robust system capable of meeting your power needs. Always prioritize safety by using quality components and following proper installation guidelines. Happy travels!

